 Get Quote

Metal Organizer Packaging: A Retail Buyer’s Pack-Out Checklist
Review the complete pack-out before approving a metal organizer for production. A carton can look neat while allowing hooks, frames or accessories to rub together inside it. Start with the product’s vulnerable points, then check retail presentation and carton handling.
Identify the parts most likely to be damaged
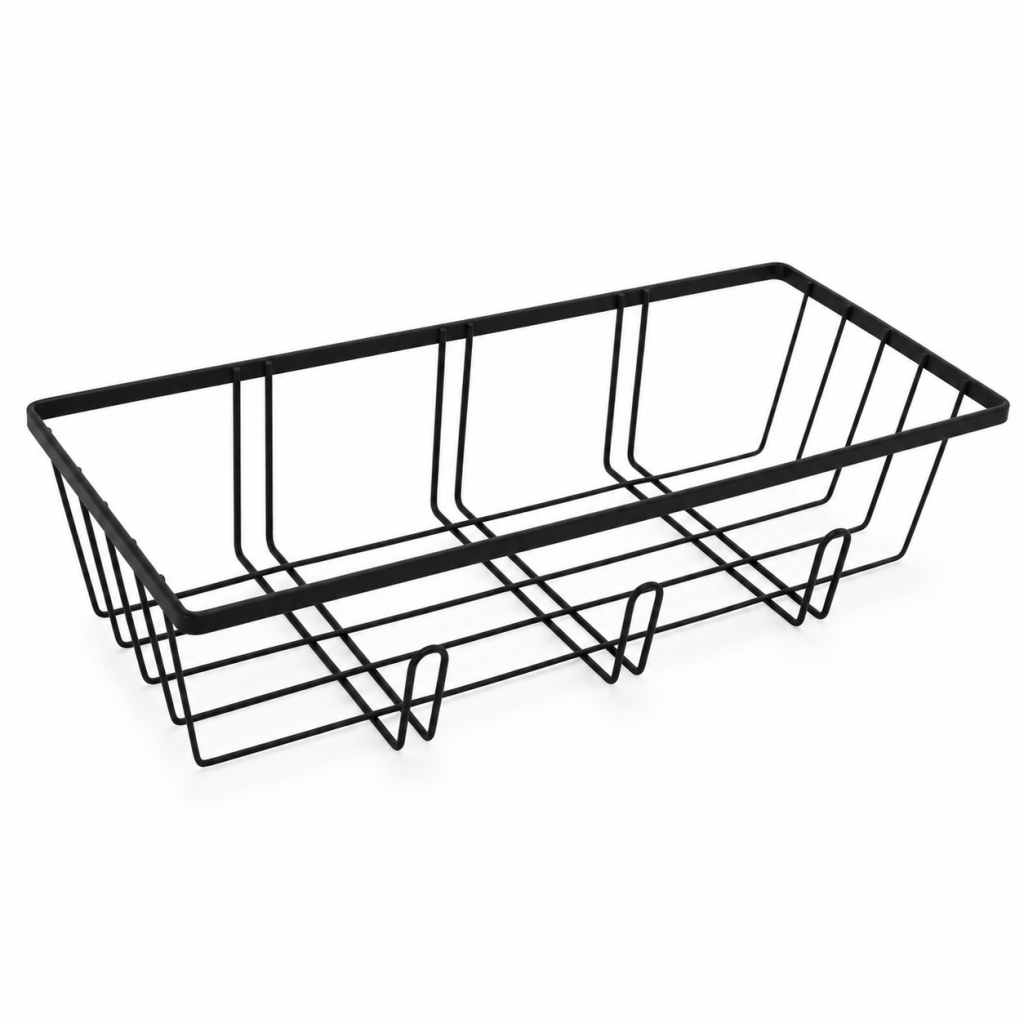
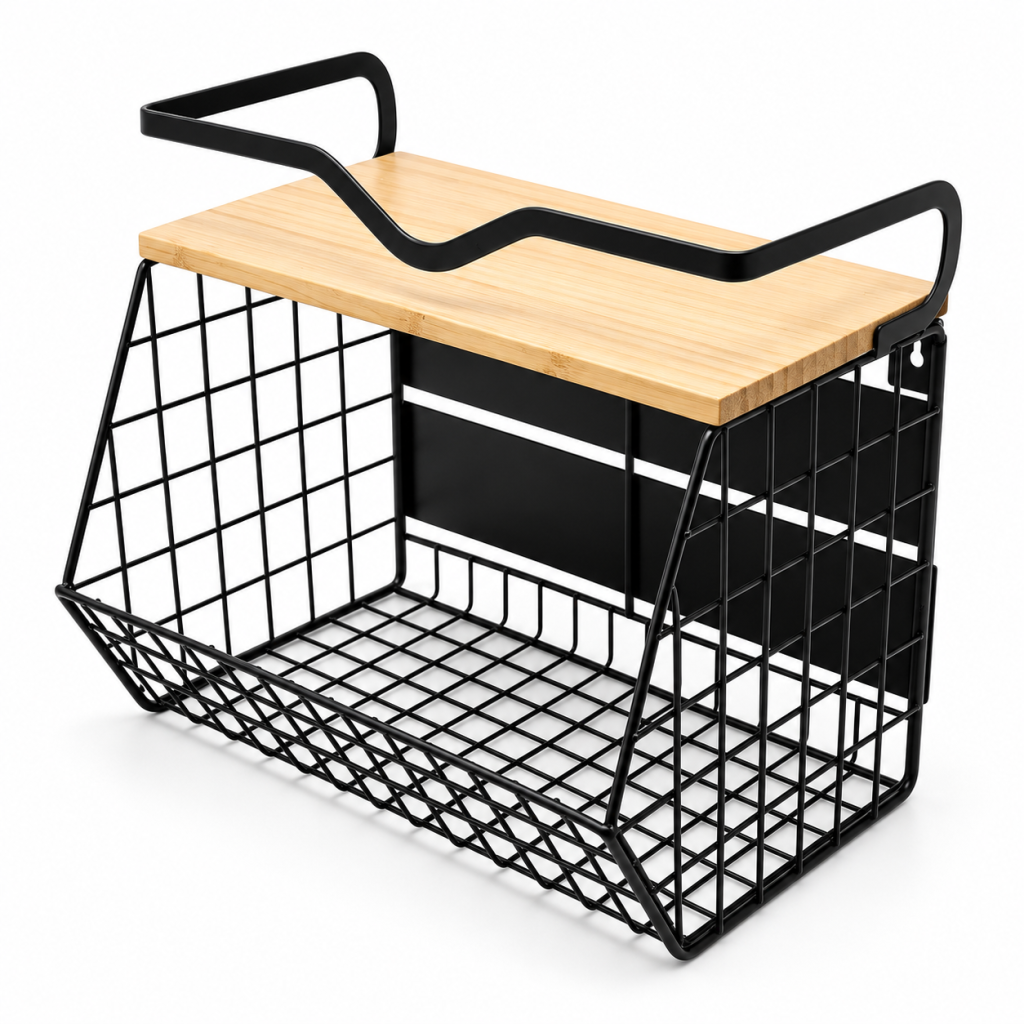
The starting point is the product’s most vulnerable features. A coated wire basket may need separation at contact points to prevent rubbing. A dish rack with a tray, cutlery holder or removable feet needs a clear arrangement so accessories do not shift inside the pack. Products with hooks or projecting sections may require a carton structure that keeps them from pressing into adjacent units.
Keep retail information clear
Retail presentation should be considered alongside transport protection. A hang tag, sleeve, colour card or window box can communicate the product’s main benefit, but it should not hide essential information such as dimensions, included parts or installation method. Packaging copy works best when it explains the product in the language of use: where it goes, what it holds and how it is set up.
Check carton efficiency without losing protection
Carton planning affects the economics of the program. The number of units per master carton, carton dimensions and internal packing method influence warehouse handling and freight utilisation. Nested baskets, foldable shelves and disassembled sets can save space, but only when the packing method is simple enough to be repeated consistently on the production line.
Review a physical packed sample
Buyers should review packaging with a physical sample whenever possible. This makes it easier to identify sharp edges, loose parts, unclear instructions or a product that is difficult to return to its pack after inspection. It also gives the factory a chance to refine the balance between material use, assembly time and protection.
Build protection around the failure risk
| Risk to review | Packing approach to discuss | What to check in the sample |
|---|---|---|
| Finish rubbing at contact points | Separation or protective material between touching surfaces | Parts stay separated after the agreed handling assessment. |
| Loose trays, feet or hardware | A defined location and count for every component | No part is missing, unlabelled or able to strike the frame. |
| Hooks pressing against adjacent units | Spacing or support around projecting sections | The packed arrangement does not distort the product. |
| Mixed materials or removable shelves | Protection and restraint for each component | The customer can identify and assemble the complete set. |
Record the pack-out as well as the product
- List the product, accessories, hardware and instructions in each retail unit.
- Record the retail pack format, label language and barcode location.
- Confirm quantity per master carton and carton dimensions in cm.
- Photograph the arrangement before the carton is closed.
- Agree any buyer handling or transport assessment and its acceptance criteria.
- Approve changes to carton quantity or protection before bulk packing.
If a packing change reduces carton size, check what happens to assembly, accessory separation and repacking after inspection. A smaller carton is not automatically a better pack if it increases damage or makes the arrangement difficult to repeat.
Use the OEM brief checklist to capture requirements early and the manufacturing guide to place pack-out checks in the production sequence.
Agree the packing before production
Discuss your required retail format, component list and carton arrangement through our OEM / ODM enquiry form. Testing requirements and packing approval should be agreed for the actual product, not inferred from a photograph.